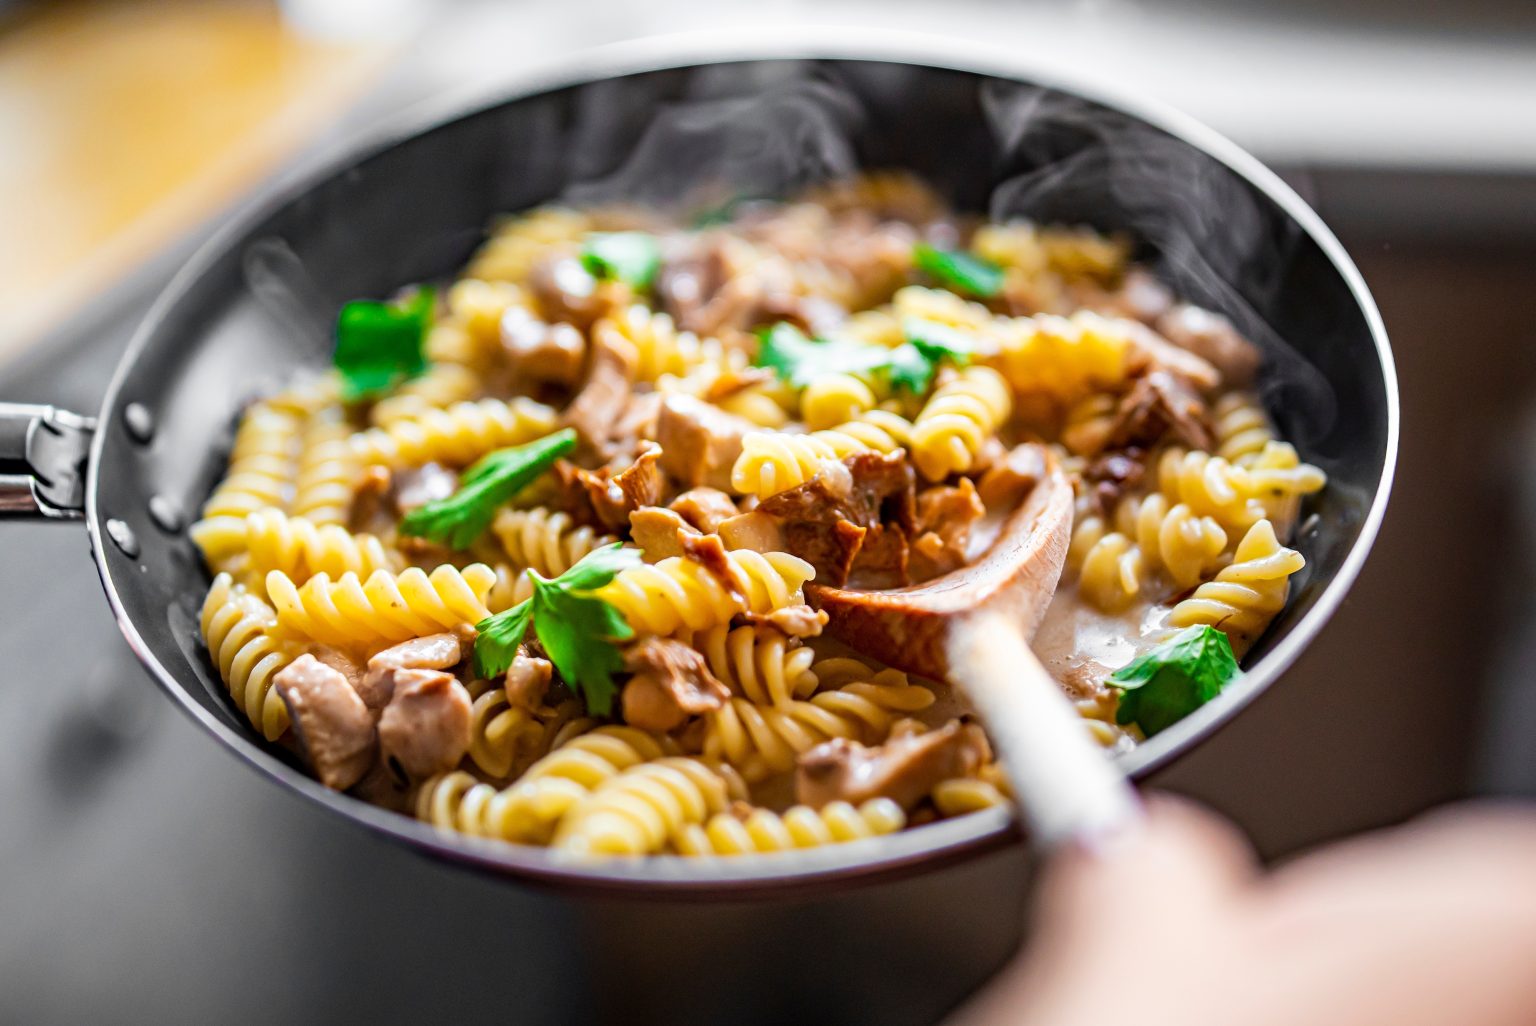
Achieving the perfect pasta dish goes beyond a mere choice of sauce and garnish; it fundamentally hinges on the pasta’s cooking technique. For starters, each variety of pasta, be it long, short, curly or flat, commands its unique cooking duration. This precision resonates on the packaging where one often finds the cooking time expressed in a range – crucial information for a discerning cook.
Moreover, factors like the pasta’s thickness and protein content are vital in understanding the variance in cooking times. For instance, while a slender penne might require 12 minutes to reach ‘al dente’ – a desirable state of firmness to the bite – the more robust rigatoni might demand a couple of minutes more. A generous pot of water, liberally salted to afford the pasta and even cook, is essential to the process. Regardless of the heat source for boiling, consistency is the cornerstone of pasta perfection, as it allows each piece the space to expand and cook proportionately within the water.
Optimal Cooking Durations for Dried Penne and Compact Pasta Varieties
For those pursuing perfect pasta, boiling water is the critical starting point. Begin by submerging penne rigate in generously salted water at a rolling boil. Monitoring the cooking process closely yields the best results. It’s advised to inspect a segment every minute by slicing it; inside, a white, starchy core gradually diminishes, indicating the pasta’s transition towards being thoroughly cooked.
This white core will slim down over time, eventually vanishing, signifying the total cooking time of the pasta. To identify the prime ‘al dente’ moment, simply deduct two minutes from this cooking duration. This method ensures you attain the quintessential firmness tailored to each unique brand and shape.
However, adopting a general time-saving procedure is effective for those seeking a less meticulous technique. Use a timer for a minute less than the packaging’s recommendation, tasting at 30-second intervals post-timer to reach the preferred ‘al dente’ texture—ideal if precision is not the priority.
Smaller pasta shapes, such as mezze penne, rotini, or macaroni, are a convenient choice, typically ready in eight minutes. Conversely, more robust varieties like large shells, farfalle, and rigatoni necessitate upwards of 10 minutes to achieve the desired doneness. When cooking pasta, particularly a pound, ensuring enough water allows for better texture and flavour. Regular stirring is crucial to prevent sticking and to encourage uniform cooking across all pieces.
How Long to Cook Dried Spaghetti and Long Pastas
When preparing long pasta such as spaghetti, fettuccine, linguine, pappardelle, tagliatelle, or angel hair, it’s imperative to use a suitably large pot. This ensures all pasta is submerged, promoting even cooking. After the water has reached a rolling boil and is sufficiently salted, deposit the pasta gently, giving it a good stir to prevent clumping.
Here’s a concise guide to cooking times for various long pastas:
- Spaghetti: Typically requires 8-10 minutes to reach ‘al dente’.
- Linguine: Slightly thicker, often needing 10 minutes or more.
- Fettuccine: Expect upwards of 10 minutes for perfect texture.
- Angel Hair: Being the thinnest, it’s usually done in about 3 minutes.
Remember to test the pasta by sampling a strand a minute before the lower end of the suggested cooking range. If it’s supple enough to twirl around a fork without snapping, it’s ready. If the noodles offer resistance, they may require an additional minute of boiling. For the best results, keep an eye on the pasta and stir regularly to prevent it from forming a sticky mass.
Duration for Cooking Whole-Wheat Pasta
Cooking whole-wheat pasta involves following the instructions on the packaging closely, as cooking times may vary. Consider these recommendations:
- Test pasta a minute before the indicated time to ensure it’s al dente.
- Use the shorter end of the timing spectrum for pasta that will be further cooked in sauce.
- Keep some pasta water to integrate into sauces, helping to achieve the perfect consistency for your dish.
Optimal Cooking Duration for Gluten-Free Pasta
The cooking period for gluten-free pasta varies with each shape and ingredient composition. Manufacturers usually provide a guideline on the package. Start with their recommended time and adjust by tasting. Should you prefer slightly softer pasta, consider boiling it for two more minutes. Ingredients in gluten-free pasta can range from chickpea and lentil flour to corn and rice. Always adhere to the specific instructions for the type of pasta being prepared.
Optimal Cooking Times for Stuffed Pasta
Preparing tortellini and ravioli from the refrigerator requires a brief cooking time of approximately two to three minutes, subject to their dimensions. To ascertain optimal taste and texture, one should add these filled pasta to a pot of boiling water and agitate gently until they rise to the surface, signalling their readiness. An additional 30 seconds post-surfacing is advised to heat the interior fully.
- Refrigerated: 2-3 minutes until floating, plus 30 seconds
- Frozen: Directly into boiling water, cook until they float
To extract the pasta, a slotted spoon is recommended, which helps maintain its form and prevents the contents from leaking out. When dealing with frozen products, place them straight into vigorously boiling, salted water without prior thawing and boil until they become buoyant.
Optimal Cooking Duration for Handmade Pasta
Cooking fresh pasta requires both attentiveness and timing for impeccable results. Begin by boiling water in a sizeable pan with a decent sprinkle of sea salt. Once boiling, lower the fresh pasta into the water, employing a wooden spoon for an initial stir to prevent sticking.
The cooking time is notably succinct:
- Thin varieties such as angel hair: under 1 minute
- Heavier shapes like pappardelle: up to 3 minutes
Regular tasting, in increments of 30 to 60 seconds, ensures perfection. Should the pasta continue to simmer in a sauce, aim for slightly less than the preferred degree of doneness to avert sogginess. Upon reaching the ideal texture, utilize a colander for draining.


