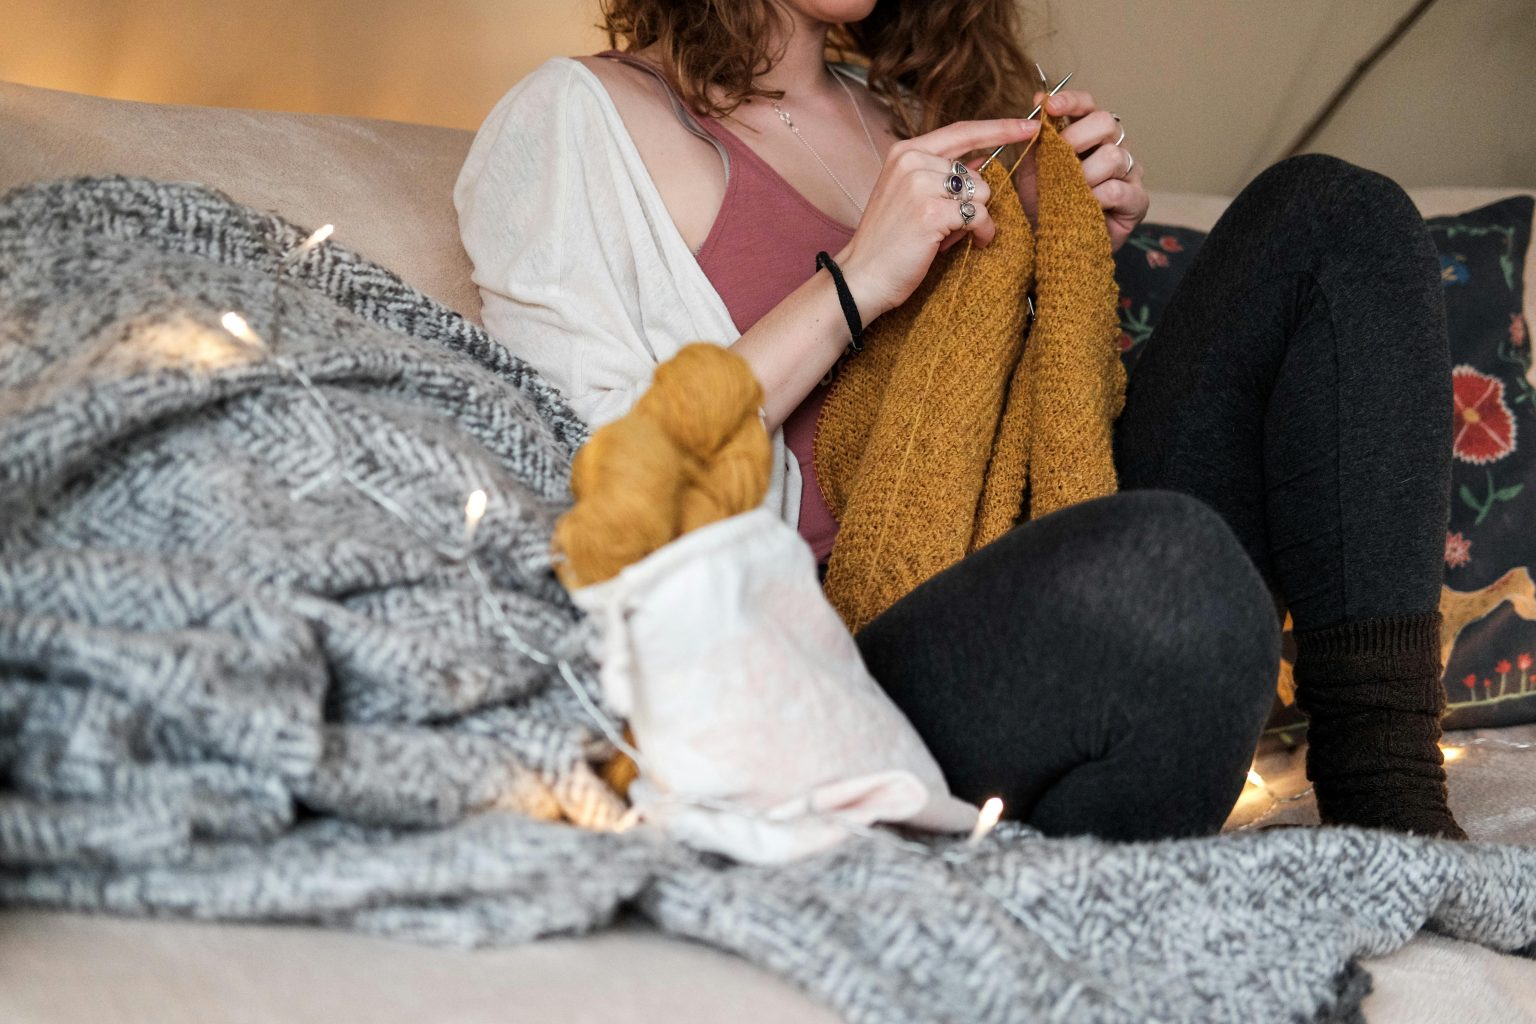
Knitting a jumper might seem like a daunting task for beginners, but it’s actually a fantastic project that you can enjoy while building a skill you’ll treasure for years. There’s something incredibly satisfying about creating your own warm, cosy jumper — a piece of clothing that not only fits you perfectly but also reflects your unique style. Let’s go through everything you need to know to knit a timeless jumper from scratch, making sure the process is simple, fun, and achievable for beginners.
Choosing the Right Pattern
The right pattern is key to creating a jumper you’ll love. The pattern will guide you through the knitting process and provide the structure for your jumper’s shape and design.
Why Pattern Selection Matters
Your pattern will determine the fit and style of your jumper, so take some time to choose one that matches your skill level and desired outcome. If you’re a beginner, opt for a simple, classic design that avoids overly complicated elements. Check out stylish jumper knitting patterns for ladies from Knit in a Box.
Simple Beginner Patterns
Start with a simple pattern, such as a basic pullover or a cosy cardigan. These types of jumpers don’t require complex shaping or advanced techniques, so they’re perfect for a first project. Look for patterns labelled as “beginner-friendly” or “easy knit” to help guide your choice.
Reading a Knitting Pattern
Once you’ve chosen a pattern, it’s time to read through it carefully. Don’t be intimidated by all the abbreviations and symbols! A good pattern will break down each step, including how to cast on, knit the body, shape the sleeves, and join everything together. If you’re unsure, many knitting communities and online resources provide helpful tutorials for decoding patterns.
Step-by-Step Guide to Knitting a Jumper
Now it’s time to get knitting! Follow the pattern closely, and remember, patience is key. Here’s a breakdown of the main steps involved in making your jumper.
Starting with the Ribbing
Begin by casting on the required number of stitches for your jumper’s neckline, cuffs, or bottom edge. Knit the ribbing, which involves alternating between knit and purl stitches to create a stretchy, textured fabric. Ribbing is typically worked for 1-2 inches before moving on to the body of the jumper.
Knitting the Body
For the body of your jumper, you’ll likely be knitting in the round, using circular needles. Follow the pattern instructions for increasing, decreasing, or adding any shaping elements. If you’re knitting a top-down jumper, you’ll begin at the neckline and work your way down, gradually adding the sleeve stitches.
Shaping the Sleeves
As you knit the body, you’ll start shaping the sleeves. Depending on your pattern, you may need to knit them separately and then sew them onto the body, or you might pick up stitches along the armholes and knit them in the round.
Finishing Touches
Once your body and sleeves are complete, it’s time to sew them together. You can use a simple whip stitch or mattress stitch for a seamless finish. After that, block your jumper to help it hold its shape and make sure all the seams are neat.
5. Troubleshooting Common Issues
Even with the best planning, things don’t always go as smoothly as we’d like. Here’s how to tackle some common challenges beginners face.
Fixing Mistakes
Don’t panic if you drop a stitch or make a mistake. Simply use a crochet hook to pick up any dropped stitches and continue knitting. If you find a mistake you can’t fix, don’t be afraid to undo a few rows and correct it.
Ensuring the Right Fit
If your jumper doesn’t fit as expected, it’s easy to adjust! You can always rip out sections and re-knit them to correct the fit, whether it’s length or width. Blocking will also help shape the jumper to fit your body more comfortably.
Caring for Your Finished Jumper
To keep your hand-knitted jumper in top condition, it’s important to care for it properly.
Washing and Storing
Follow the yarn’s care instructions to wash your jumper. Wool-based yarns may require hand washing in cold water, while acrylics can often be machine washed. After washing, gently lay your jumper flat to dry to maintain its shape.
Repairs and Maintenance
If you notice small holes or loose threads, don’t worry! You can easily repair your jumper by darning or re-knitting small sections. Keeping your jumper in good condition will help it last for many seasons.
Conclusion
Knitting a jumper is an incredibly rewarding experience, especially when you see the finished product and can proudly wear something you’ve created yourself. Whether you’re a beginner or just looking to sharpen your skills, this guide should give you the confidence to start your own timeless jumper project.


