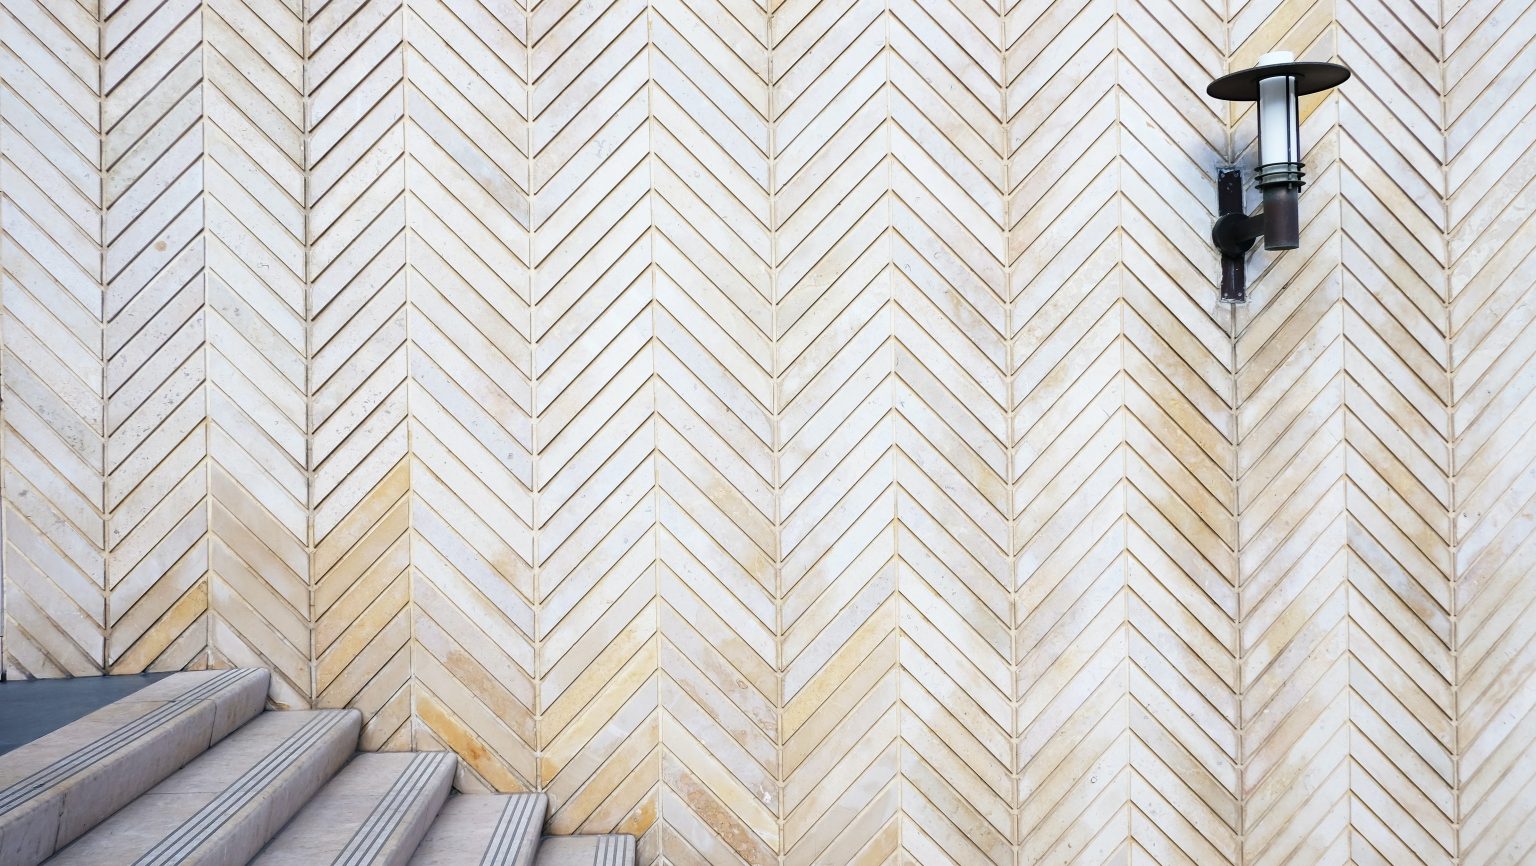
Do you dream of transforming your home into a space that exudes sophistication and style? Many homeowners aspire to achieve an elegant interior design, but the idea of taking on a time-consuming and costly renovation can be daunting. The good news is that you can achieve effortless elegance with a simple DIY project that will completely change the look and feel of your space: wall paneling.
In this blog post, we will guide you through the process of adding DIY wall paneling to your home. You’ll discover how easy and cost-effective it can be to create a luxurious atmosphere that reflects your unique taste and style. So, let’s get started on your journey to transform your space with a touch of elegance.
1. The Magic of Wall Paneling
Wall paneling has been a hallmark of interior design for centuries. It adds depth, texture, and an element of luxury to any room. Paneling can be found in traditional settings, such as grand Victorian homes, and in modern, minimalist designs. It’s a timeless element that can be customized to fit your vision of elegance.
2. Choose Your Paneling Style
Before you dive into the world of DIY wall paneling, it’s essential to decide on the style that resonates with your taste and the existing decor of your home. There are several popular paneling styles to choose from, including beadboard, shiplap, raised panels, and flat panels. Cut My, who expertly cuts a range of materials for you, is here to help you with your DIY project.
Each style has its own unique characteristics, so take your time to explore the possibilities and choose the one that best suits your aesthetic preferences. The right style can effortlessly enhance the elegance of your space.
3. Gather Your Materials
To get started with your DIY wall paneling project, you’ll need some basic materials. These may include:
- Panels of your chosen style
- Measuring tape
- Level
- Nails or screws
- Hammer or drill
- Paint or finish
- Caulk and wood filler
- Sandpaper
- Safety gear
Ensure you have all the necessary tools and materials before you begin. Proper preparation will make the process smoother and more efficient.
4. Measure and Plan
To achieve a seamless and polished look, it’s crucial to measure and plan your wall paneling installation carefully. Measure the wall’s dimensions, and mark the locations where you want to place the panels. Use a level to ensure that your panels will be straight and evenly spaced.
5. Cut Myths, Not Panels
One common misconception is that cutting panels is a complicated and daunting task. However, with the right tools and a steady hand, it can be a breeze. Many home improvement stores offer cutting services, so you can have your panels cut to the desired dimensions. Alternatively, you can invest in a circular saw, jigsaw, or table saw for precise cuts. Don’t let the fear of cutting panels deter you from this elegant DIY project.
6. Install the Panels
With your panels cut to size, it’s time to install them on the wall. Start from the bottom and work your way up. Use a level to ensure the panels are straight and plumb. Secure the panels to the wall with nails or screws, making sure they are firmly attached. If your panels have tongue and groove edges, they should fit together seamlessly, creating a clean, polished look.
7. Finish and Paint
Once the panels are securely in place, it’s time to add the finishing touches. Fill any gaps or nail holes with wood filler, and sand the surfaces for a smooth finish. You can then apply paint or stain to match your desired color scheme. A fresh coat of paint can instantly elevate the elegance of the room.
8. Accentuate Your Design
To further enhance the elegance of your newly paneled wall, consider adding decorative elements. Crown molding, wainscoting, or trim can create a sophisticated and finished look. These details can be painted to match your wall panels or chosen in a complementary color to create contrast.
9. Lighting and Accessories
Effortless elegance isn’t just about the walls. Consider how lighting and accessories can play a significant role in elevating the overall ambiance. Elegant chandeliers, sconces, and mirrors can work wonders in adding that touch of sophistication you desire.
10. Enjoy Your Effortless Elegance
As you step back to admire your newly paneled wall, you’ll be amazed at how a simple DIY project can completely transform your space. The elegance and sophistication you’ve been dreaming of are now a reality. Your friends and family will undoubtedly be impressed with your interior design skills and your ability to achieve such a stunning result with a modest investment of time and resources.
In conclusion, DIY wall paneling is a fantastic way to achieve effortless elegance in your home. With careful planning, the right materials, and a bit of creativity, you can take your space from ordinary to extraordinary. Don’t let myths about cutting panels deter you from embracing this stylish project. Whether you opt for beadboard, shiplap, or raised panels, wall paneling can make a significant difference in your home’s interior design. So, roll up your sleeves, gather your materials, and start your journey toward a more elegant and inviting living space.


