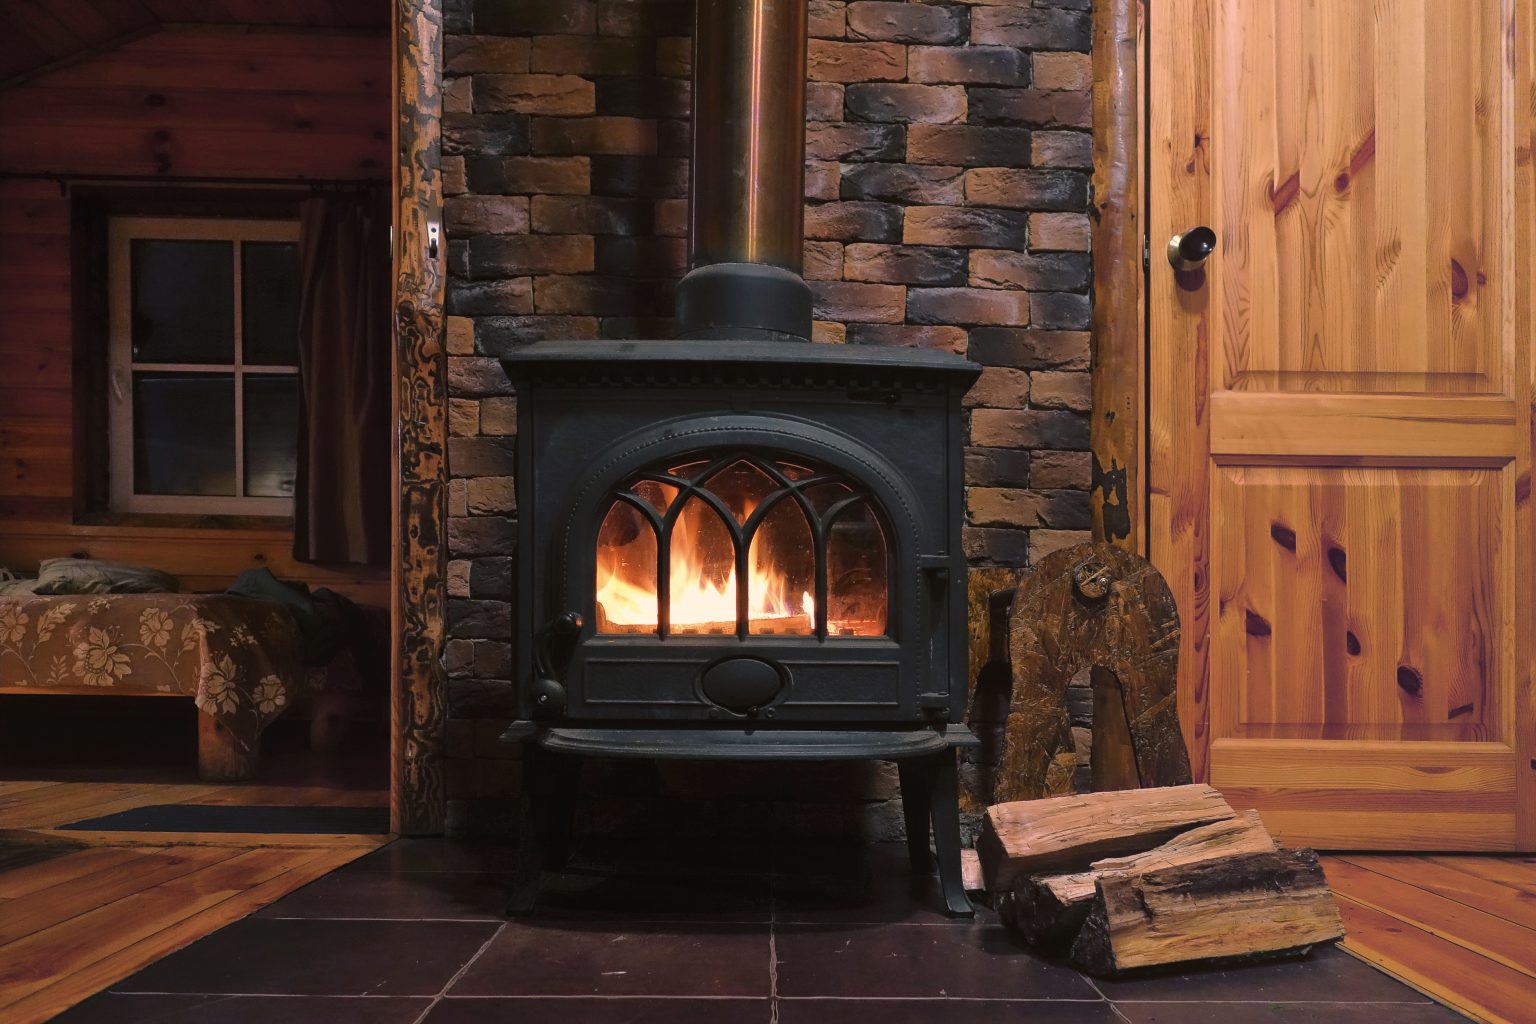
When you’ve got a wood burner in your home, you’re probably used to seeing the black marks and ash not only on the stove itself but on the hearth around it. Beyond appearance, it can also have some adverse effects on your burning that you may not realise.
That’s why ensuring you’re regularly cleaning your stove is so important. Logs Direct, the leading supplier of kiln-dried logs in the UK, offers expert insight and the ultimate cleaning guide for wood-burning stoves.
Why clean the stove?
Cleaning your stove is like cleaning your oven: you know you probably should, but you’re unsure why. Well, the easy answer is that the buildup of soot and creosote created by constant burning without cleaning not only reduces efficiency but can become a fire hazard. Keeping it clean and maintained keeps it optimal, ensuring safer burning experiences every time it’s lit.
What you’ll need
Before you start cleaning, it’s a good idea to get your room ready and prepped for the likelihood that your furniture and the surrounding area will get covered in soot and debris. Plastic covers or even a tarp being placed could prevent you from having to do even more cleanup than you’re already about to do.
Once you’ve got the room ready, getting the right tools for the job is next. A stiff brush and a chimney brush, along with an ash bucket, a vacuum, and a hand shovel, are essential.
The final necessities are a good pair of protective gloves and some safety glasses to keep yourself safe while doing your cleaning. It’s also a good idea to wear clothes you don’t mind getting dirty or ruined during cleaning.
Stay safe!
When you’re planning to clean your stove, don’t forget to stay safe. Don’t start the cleaning until the metal of the stove is completely cooled to avoid any burns. You should also give your stove a look over for any damage or wear to it, as it could affect its integrity, making it dangerous to deal with. Anything you’re unsure about should encourage you to call a professional for an expert opinion.
Clearing extra debris
The cleaning should always begin with removing the ashes and debris from the base of the stove with your hand shovel. Be aware that there will likely be dust that easily falls from the remnants and can hang around in the atmosphere or cover your furniture, so carefully placing it into your bucket saves you a bit of cleanup.
Cleaning the interior
This is where your brushes come in, as the next step is using them to break down the built-up soot and creosote on the interior walls and corners of your stove. The approach to this should be gentle but confident and thorough, which avoids damage to the inside while removing all the residue left from previous burning. A mixture of water and mild detergent can also be used for the residue that needs some extra attention.
Check the chimney
When it comes to the chimney, we strongly advise consulting a licensed, professional chimney sweep for proper stove maintenance. Having a professional come in to sweep and clean will help to identify buildup and any structural damage that might be there. Catching this as early as possible means you’re saving yourself money on repairs in the long term.
Vacuuming the rest
Your cleaning’s done, and you’ve thrown out most of the larger debris. This is where the trust vacuum cleaner shines. A nozzle attachment is a quick and easy way to eliminate the remaining dust and particles. Plus, changing the attachment means you can also clean the rest of the room.
Inspection and maintenance
Now, you can get a better look at your stove for any wear or damage that may not have been visible before when it was dirtier. The door gasket and whether it has a proper seal, the condition of the glass, and the condition of the body of the stove should be the first things you look at. Any issues you find should be directed towards a qualified Hetas-approved stove fitter.
With the cleaning complete, take the opportunity to inspect the stove for any signs of wear or damage. Logs Direct recommends checking the door gasket for a proper seal, ensuring the stove’s glass is intact, and examining any other components that may require attention. Addressing minor issues promptly can prevent more significant problems in the future.
Following this guide will keep your stove burning brightly and efficiently on those colder days year-round!


