
Videos make class projects more interesting. A well-made video can capture attention and make ideas easy to understand. Simple edits like text, images, and effects can help tell a clear story.
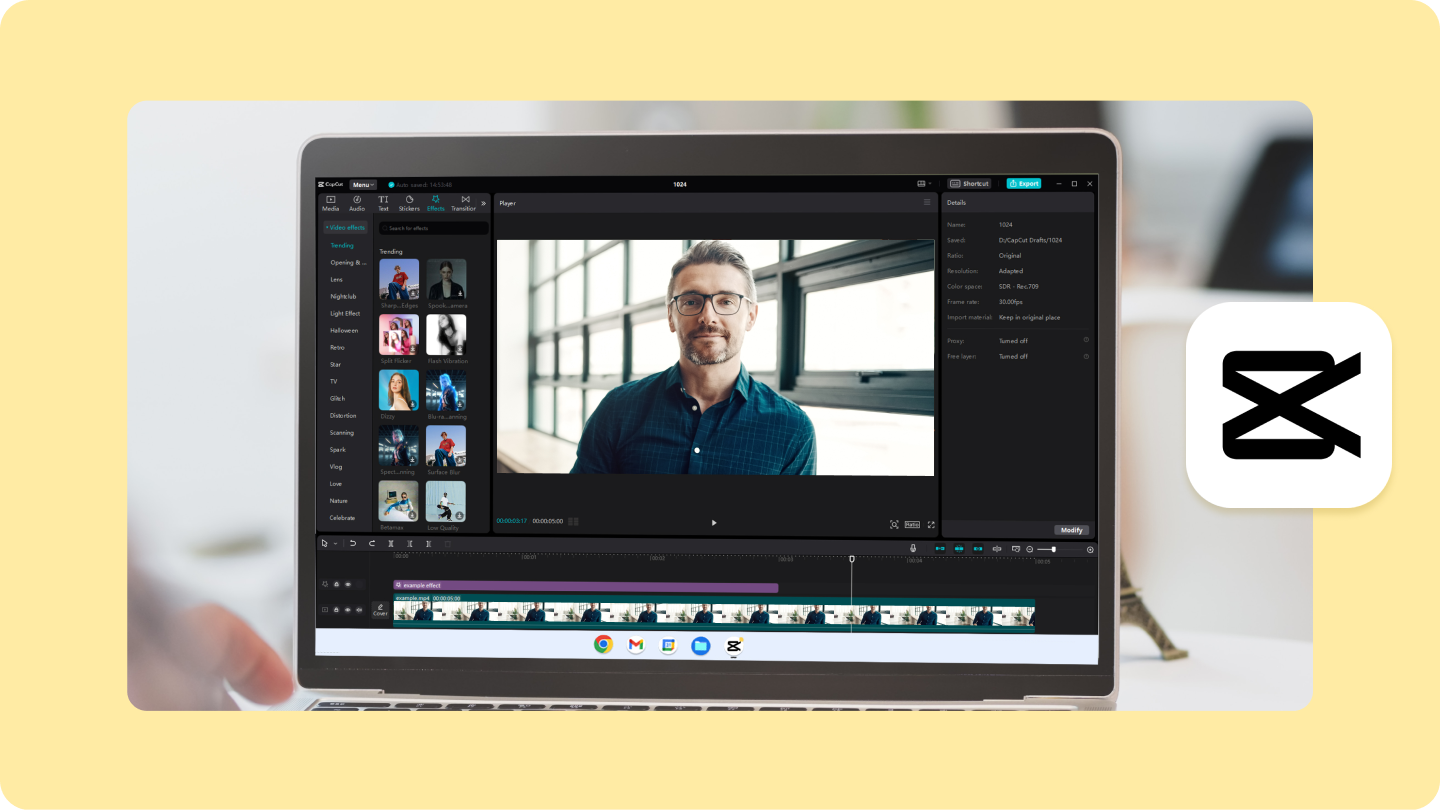
A good video editing tool can make this process easier. CapCut Desktop Video Editor is a great choice for students. It has many tools to help create high-quality videos. You can add subtitles, transitions, and music to make your project more engaging.
Some features in CapCut PC are free, but advanced tools require payment. It is important to know which tools are free and which ones cost money.
In this blog, we will explore why CapCut PC is a great option for class projects. We will look at its key features and walk through the steps to create a professional-looking video. By the end, you will be ready to make an engaging presentation video with CapCut.
Why Use CapCut for Presentation Videos?
A well-edited presentation video helps students share ideas clearly and engagingly. A simple slideshow may not keep the audience’s attention. Adding effects, music, and text can make a big difference. This is where video editing tools like CapCut PC come in handy.
CapCut PC makes editing easy for beginners. Its simple design helps students create polished videos without much effort. It has tools that improve video quality, making presentations more interesting.
Here are some main benefits of using CapCut PC:
- Its user-friendly interface makes editing easy.
- It offers transitions and effects to make slides blend smoothly.
- It has text animations to highlight important points.
- It includes AI-powered tools that save time and improve video quality.
Students can also add subtitles to make their videos easier to understand. They can use the auto-captions generator to create captions automatically.
CapCut PC is free to download, but some advanced tools need payment. If students want extra effects, high-quality exports, or AI tools, they may need a paid plan.
With CapCut PC, students can turn simple presentations into engaging videos. It helps them explain ideas better and keeps their audience focused.
Key Features of CapCut for Engaging Presentation Videos
Text and Subtitles
Adding text helps explain ideas clearly. Captions and subtitles make videos easier to understand. They help students follow along, even without sound. CapCut PC lets you add and style text easily. You can also use an AI caption generator to create captions automatically. This saves time and ensures accuracy. Well-placed text keeps the audience focused.
Transitions and Effects
Smooth transitions help videos flow better. They make shifts between slides or clips look natural. Effects can highlight key points and make content more engaging. CapCut PC offers many transition styles to choose from. The right effects keep viewers interested. Well-timed transitions help create a polished and professional video.
Background Music and Voiceover
Music sets the mood of a video. It makes content more enjoyable. CapCut PC allows you to add background music easily. A voiceover can also explain ideas more clearly. If you don’t want to record your voice, you can use the text-to-speech feature. This tool converts written text into speech. Some advanced voice options may require payment. A good mix of music and voiceovers makes the video more engaging.
Video Templates and Stock Media
Templates save time and effort. They provide a ready-made design for quick editing. A good video editing software like CapCut PC offers templates for different video styles. You can choose one that fits your project. Stock media also helps improve videos. You can add high-quality images and clips to support your content. This makes the presentation more visually appealing. Using templates and stock media helps create a professional-looking video with less effort.
How to Create an Engaging Presentation Video Using CapCut PC?
Creating a great presentation video is easy with CapCut PC. Follow these steps to make a video that grabs attention and keeps viewers engaged.
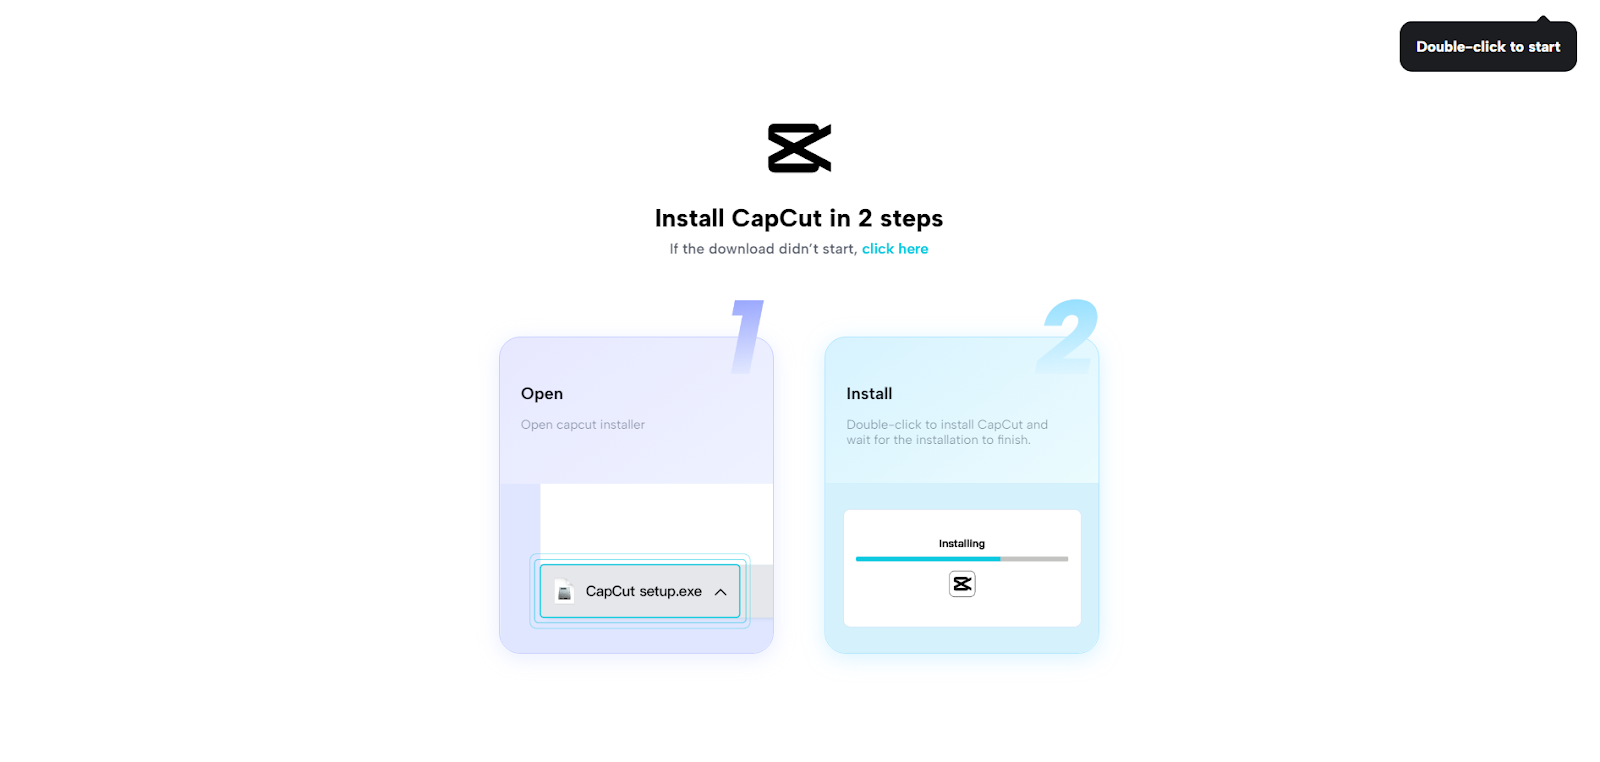
Step 1: Download and Install CapCut PC
First, visit the official CapCut website and download the software. After the download is complete, install it on your computer. Open the program and sign up for an account. CapCut PC offers both free and paid features. Some advanced tools, like AI effects, require a subscription.
Step 2: Import Your Presentation Material
Now, gather all the materials you need for your video. Upload your slides, images, and video clips into CapCut PC. Simply drag and drop them onto the editing timeline. Arrange them in a logical order so that your video flows smoothly.
Think about the message you want to deliver. If you need to emphasize key points, add pauses or extra visuals. A well-organized video helps viewers understand your content better.
CapCut PC allows you to adjust clip duration, crop images, and reorder slides. This way, you can fine-tune your video before adding effects or sound.
Step 3: Edit and Enhance the Video
Now, it’s time to make your video come to life. Trim unwanted parts to keep your content clear and to the point. Add smooth transitions between slides so your video doesn’t feel choppy. Use effects to make key moments stand out.
A good presentation video should also sound great. Add background music to set the mood. Make sure it’s not too loud—your voice should be easy to hear.
If you want to include spoken explanations, you can record a voiceover or use the text-to-speech feature. This tool converts written text into spoken words, making it easier to add narration.
For better clarity, use an AI caption generator to create subtitles. Captions help viewers follow along, especially if they are in a noisy place.
Some editing features, like premium effects and AI tools, require a paid plan.
Step 4: Add Subtitles and Voiceovers
Subtitles help people understand your video, even without sound. You can type them manually or use an AI caption generator to create them automatically.
If you don’t want to record your voice, use the text-to-speech feature. It turns written words into clear, natural-sounding speech.
Step 5: Export and Share
Before saving your video, check the resolution and format settings. Choose high-quality for a crisp and professional look.
Once everything is set, export your video. You can share it on classroom portals, social media, or directly with your audience. A well-edited video makes your presentation more engaging and effective.
Conclusion
CapCut PC is a great tool for making class project videos. It helps students create clear and engaging videos with ease. Good visuals make a big difference in keeping the audience interested. CapCut PC offers many features that improve video quality. Some tools, may require payment. Even so, the free version has plenty of useful options. Students should try different features to see what works best. With practice, they can make better videos for their projects. Using CapCut PC can make their presentations stand out. It is a smart way to create professional and polished videos.